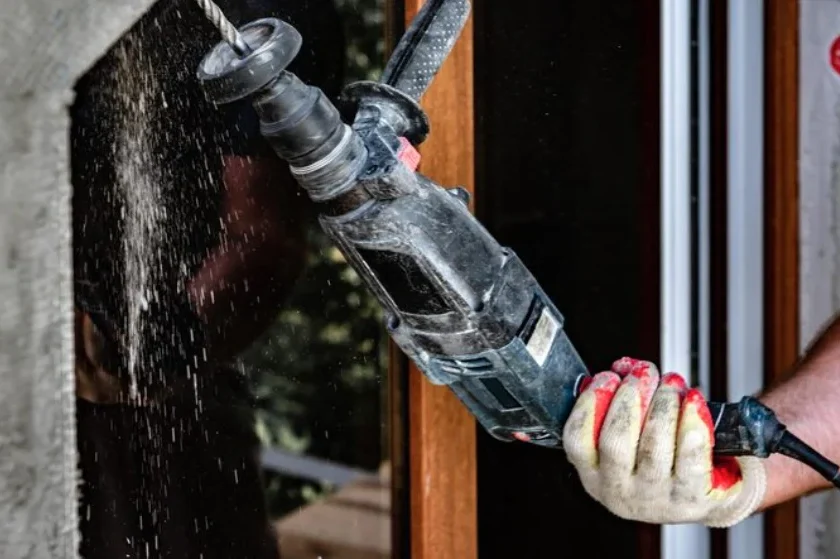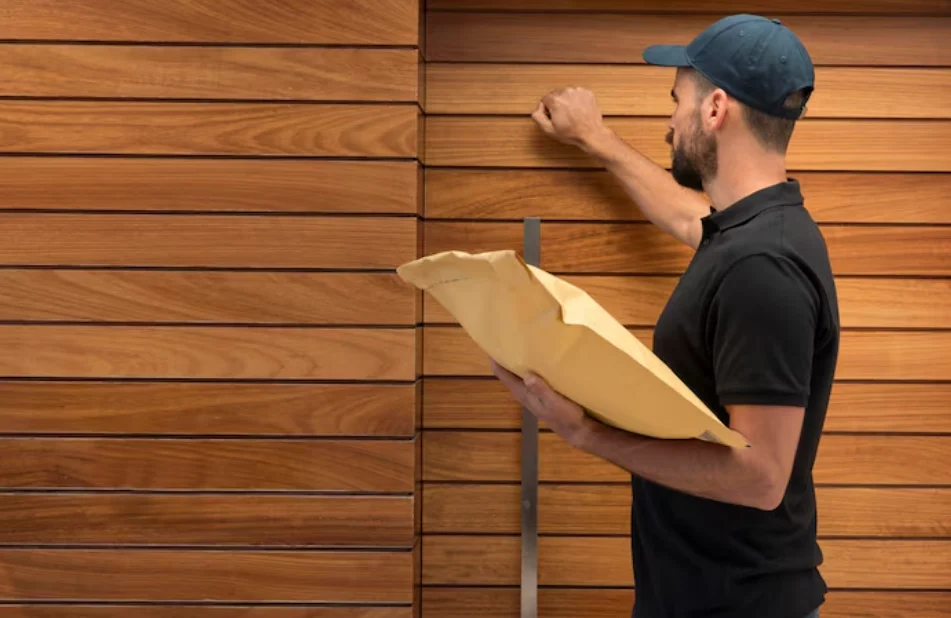
We have found that most siding delays are not caused by the siding itself, but rather by a blocked driveway, a satellite dish that was not known to exist, a flower bed that cannot be walked around, or an occupant who did not realize that the scaffolding was going to be outside their bedroom window for 4 days. It costs very little to prepare a property for exterior work and can save a lot of problems including poor finish, delayed completion and a poor relationship with the householders and their neighbors.
The ways a house needs to be prepared for an exterior renovation project are elaborated below. The information below is for those with prior knowledge of the exterior renovation trade, in particular siding installation, and they will read about the exterior renovation prep information in particular order.
Clearing the work zone and controlling access
The crew needs a corridor around the house of about 6′ wide (or more depending on staging, lifts, long lap siding, etc.). Anything within this area that isn’t supposed to be there (e.g. Prep completed in an odd location) will slow production and possibly cause damage to finished work.
Staging, parking and material drop
Identify in advance where you will place bundles of siding, set up the cut station, and place the dumpster or debris trailer. A driveway is often the best location for the cut station as it provides a hard, clean surface. Be sure to check the weight limit of any decorative pavers that may be used as staging areas and verify that overhead clearance will be sufficient for delivery trucks in areas with mature trees near the approach.
- Clear one parking bay per two crew members, plus space for a material truck
- Identify a water spigot and at least one working exterior outlet, or plan for a generator
- Unlock gates and disable automatic gate closers for the duration
- Confine pets indoors or off site, and inform anyone who will be home during work hours
Dealing with exterior fixtures and wall penetrations
Decide beforehand whether to remove any items temporarily affixed to the exterior walls. Some items such as railing decorations may be affixed to the new siding. Others may be removed and either rehung or replaced by you. Some items such as lighting, hose bibs, clothes drying apparatus etc. Will be incorporated into the exterior wall assembly.
Items that need a decision before day one
Shutters, house numbers, mailboxes, security cameras, doorbells, light fixtures, hose bibs, dryer vents, electrical meters and satellite dishes. It is best to have the service provider for these items contact you directly to make arrangements for their disconnect. Take a photo of each elevation prior to covering up the home to ensure that the home is reinstalled in the exact same location.
Trim details that affect ordering
Most siding changes the thickness of the wall. Therefore items such as window and door trim, light blocks, vent hoods and even railing attachments may require extension or even replacement. These items can be ordered at the same time as the siding, and it is worth having a crew that handles siding installation in Canton confirm the finished wall depths before that order is placed. If necessary, part of the installation can be left until the additional items have arrived.
Protecting landscaping, hardscape and drainage
The biggest homeowner complaint after an exterior finish job is plant damage. This can be easily prevented by tying back within the specified working area the shrubs and other plants with soft line rather than cutting them down. Containerized plants, garden ornaments etc. Or surface-level irrigation systems need to be removed before the job.
Cover the ground of mulched beds below the walls with protective sheeting to collect the nail stubs, cutoffs and other siding debris. Use a Magnetic Sweep at the end of each day to collect any debris that has escaped. Flag downspout extensions, splash blocks and surface drains to prevent them from being crushed by the sides of ladders or buried under debris.
Preparing the interior and the occupants
Nailing siding to exterior walls can cause them to vibrate. Remove pictures, mirrors and other items from walls that will have new siding installed. Also, take down any fragile items such as glasses, etc. From upper shelves. Items stored in the attic above exterior walls that will have new siding installed should be moved to the center of the attic to allow for soffit and/or frieze work.
The homeowner must be advised of the expected noise level of the crew, i.e. That of a typical exterior contractor, that the dust tends to fall at the window opening and that the exterior doors will be restricted in usage by the crew. Home workers must advise of the expected core hours that the compressor and saw will be in operation.
Sequencing the schedule around weather and inspections
Having outlined the preparation tasks it is then possible to distribute them within the scheduled completion date to protect the property from being left half completed as a result of inclement weather (rain) or unforeseen problems with the exterior wall (hidden sheathing rot, etc.) detected on the tear-off.
| Timing | Task | Why it matters at this stage |
| Three to four weeks out | Confirm permits, order trim and accessories, notify utility and alarm providers | Lead times on specialty components drive the start date |
| One to two weeks out | Prune vegetation, relocate containers, arrange pet and parking plans | Pruning needs time before exposure, and neighbors need notice |
| Two to three days out | Remove wall-mounted items, take down interior wall hangings, clear the corridor | Avoids last-minute discoveries that stall the first morning |
| Day of start | Unlock access points, confirm staging and power, walk the elevations with the lead | Establishes a shared record of existing conditions |
| During the work | Daily debris sweep, tarping of exposed sheathing before overnight weather | Limits water intrusion risk and nail hazards |
Building in slack
The time that exterior and tear-off projects take to complete includes rain days, potentially unknown sheathing damage and time for various required inspections. Include in the contract who will cover overnight tarping of the house and who will pay for any required repair to the substrate. Exterior and tear-off projects in the Canton area generally allow for some contingency time for weather related issues.
Documenting the preparation is as important as doing the work. A photo of the area pre-work, a list of items to move and who will move them along with a written sequence of events for the owner and crew to refer to later will alleviate most of the disagreements down the road.
Read more : How Smart Home Improvements Can Increase Property Value